
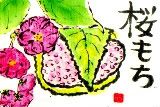
Though in northern Japan we are still snowbound, and will be for at least three more months, we were comforted, along with all of Japan, when the TV weather girl announced last week that plum blossoms had begun to bloom somewhere down south. Plum blossoms are one of the official harbingers of Spring. Yes, it's that time of the year when any self-respecting, Japan-based foodie will insert something plum-related into the menu.
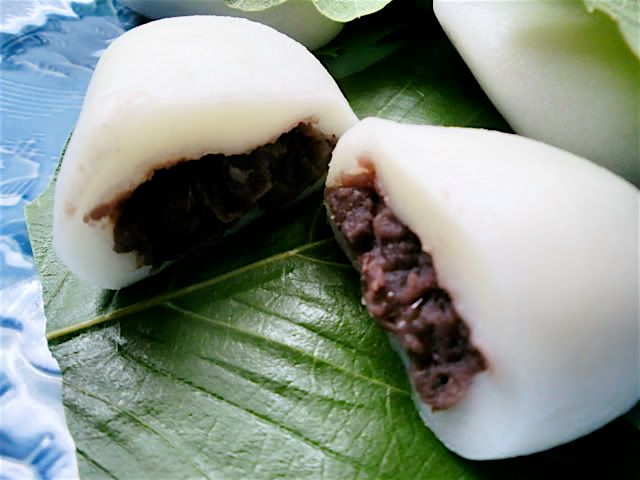
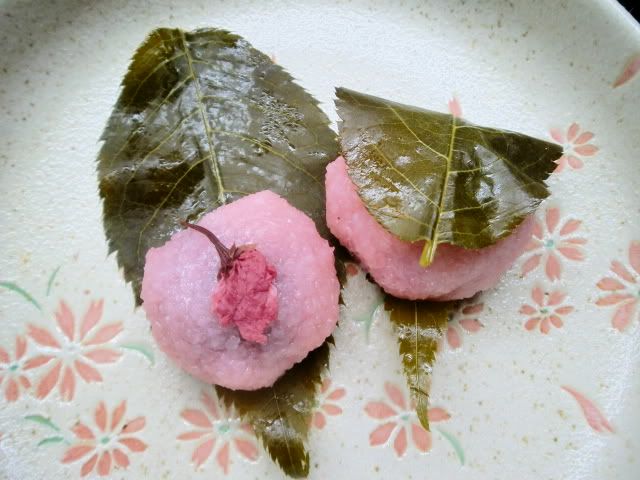
Today's recipe is for a plum blossom-shaped, plum-flavored confection made from
gyuuhi, a mochi-like dough that is tender and easier to mold than mochi. The original recipe uses plain white bean
an (
shiro-an) as the filling, but I mixed preserved plums into the
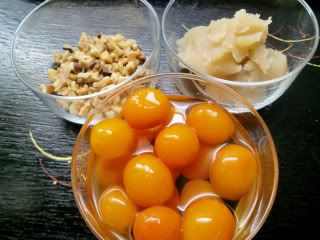
an. Half with chopped red pickled plums, and the other half with chopped sweetened green plums left over from making plum wine. Sometimes you can find these green plums at the bottom of a bottle of plum wine. Don't throw them out. Freeze them and use them for just such a recipe as this.
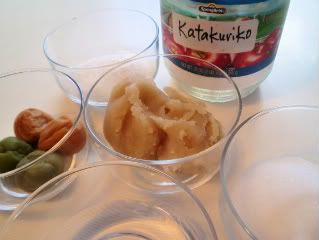
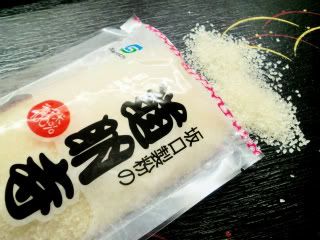
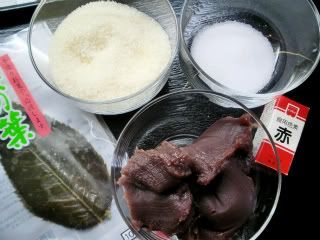
Ingredients (for 8 confections):shiratama-ko (glutinous rice powder)...50 grams/1.6 oz
granulated sugar..................50 grams/1.6 oz
water.................................80 cc/ 1/3 cup
katakuriko (potato flour, may substitute corn starch).....1/2 cup or less
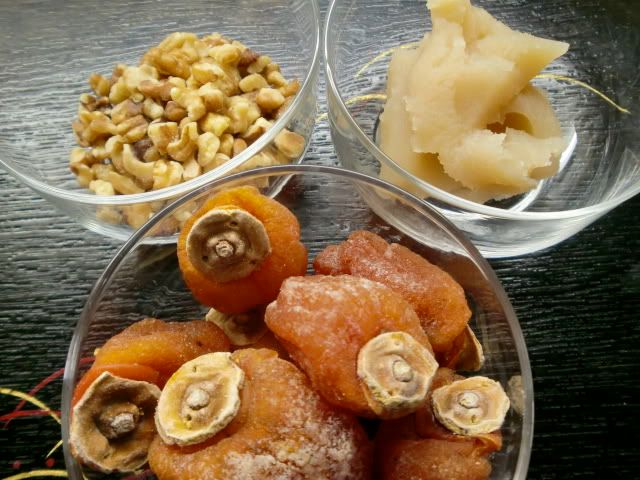
shiro-an (white bean
an)....................160 grams/ 5.5 oz
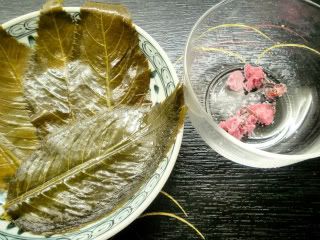
soft
umeboshi (red salt-pickled plums) and
ao-ume (preserved green plums)...2 each
the yolk of a boiled egg, for decoration
 Directions:
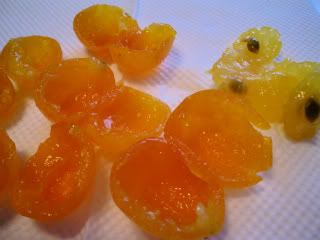
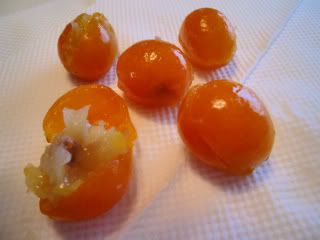
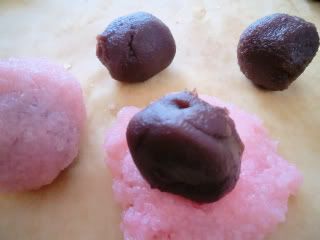
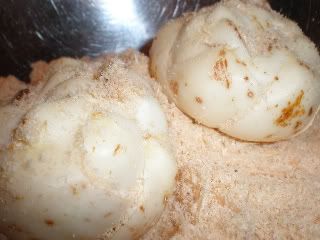
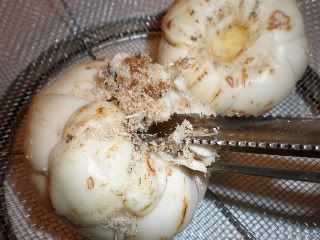
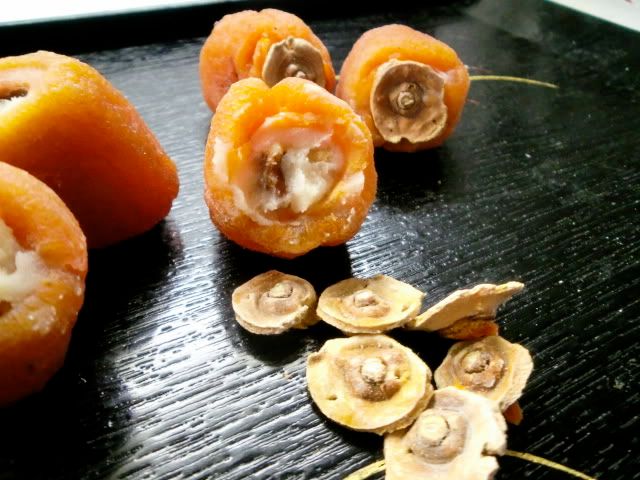
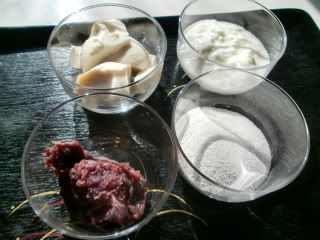
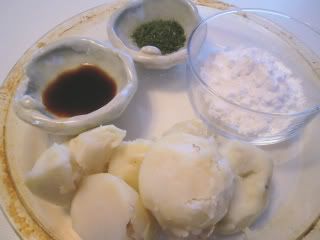
1. Finely chop the red and green plums, discarding the pits. Mix half of the
an with the pickled plums, and the other half with the green plums. Divide each half into four equal portions (eight total) and roll them into balls.
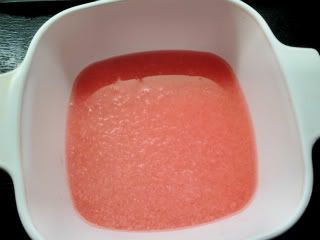
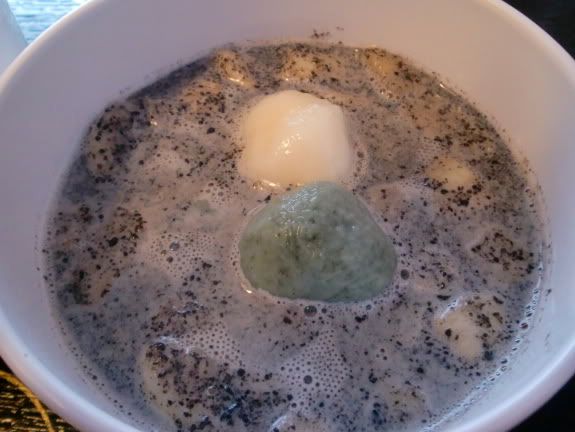
2. Place the
shiratama-ko, sugar, and water in a microwave-safe bowl. Stir with a whisk till any lumps are gone. Cover the bowl with plastic wrap and cook in microwave at 500 watts for 3 minutes. When done, use a wooden spoon or spatula to stir the mixture thoroughly. This is the
gyuuhi dough.
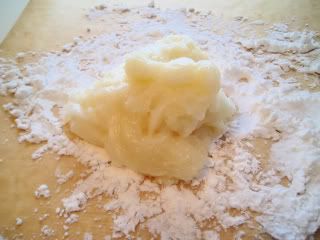
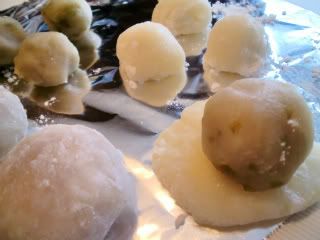
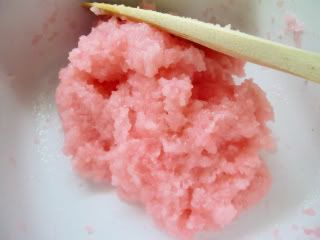
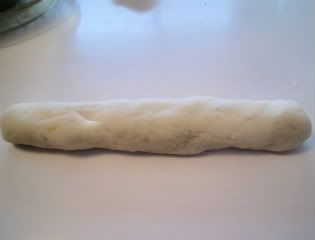
3. Dump the
gyuuhi dough onto a surface sprinkled with
katakuriko (or corn starch) and divide into 8 equal portions. Roll each portion into a ball, then flatten each
gyuuhi ball and wrap it around one of the
an balls.
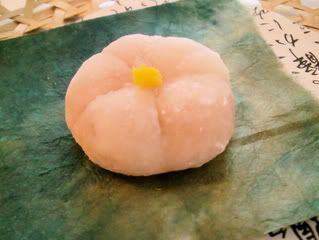
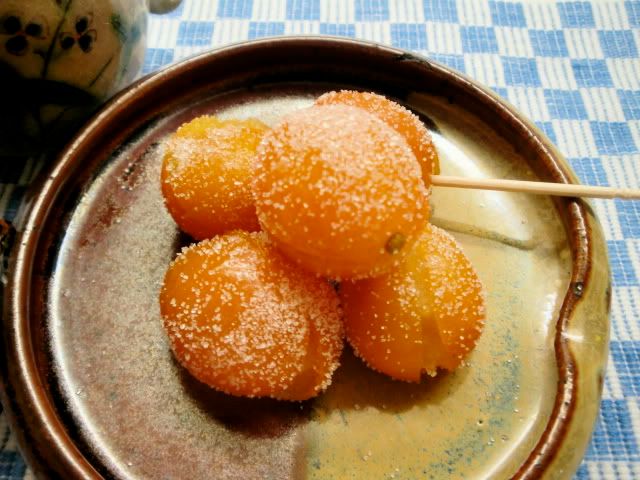
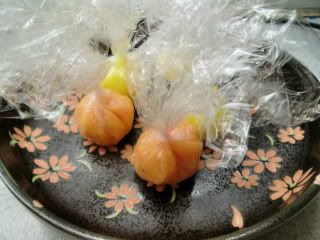
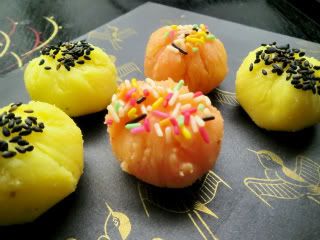
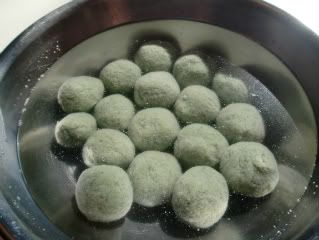
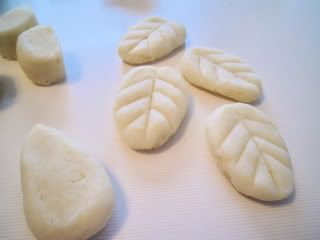
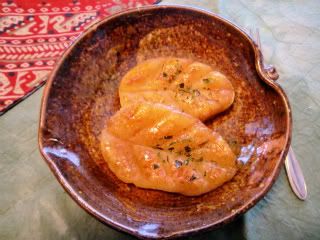
4. Use the dull edge of a knife to press 5 lines from the outer edge of each ball to its center, to represent the petals of the plum blossom. The
gyuuhi will bounce back, so press firmly.
5. When all eight balls look like plum blossoms, place a pinch of boiled egg yolk in each center.
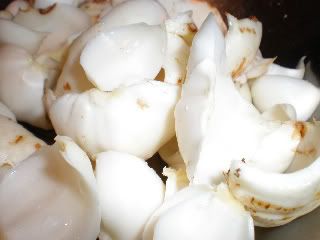
notes: The red plum-
an mixture was very soft due to the moisture in the
umeboshi. It was hard to form it into balls. But the flavor balance of the sour
umeboshi and the sweet
shiro-an was fantastic. The green plum-
an, on the other hand, had the interesting crunchy texture of green plums without much added moisture, so the
an was easy to handle. I liked the flavor of the red plum-
an filled confections best.
My conversions into ounces are always approximate. Please use metric if possible, and if not, check the conversions with your own reference books to make sure.


